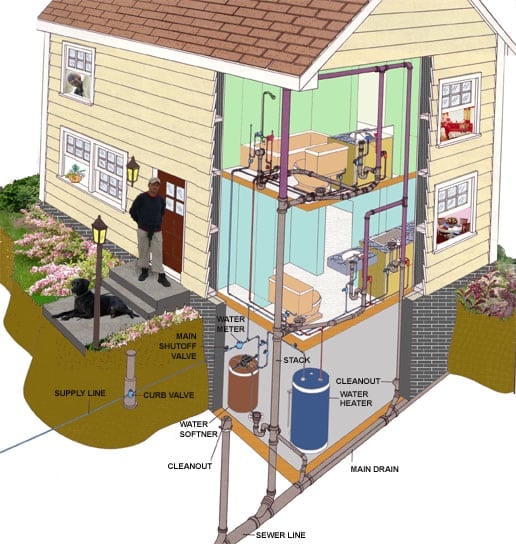
One of the most complex aspects of construction is designing a plumbing system for a building. A plumbing system delivers potable hot and cold water to the home, while safely removing waste water and venting the waste system to remove gases and wastewater odors from the home.
Shut off valves allow for uninterrupted supply during repairs, which is why each fixture that uses water requires one. It allows individual units to be shut down without affecting the plumbing system as a whole.
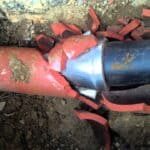
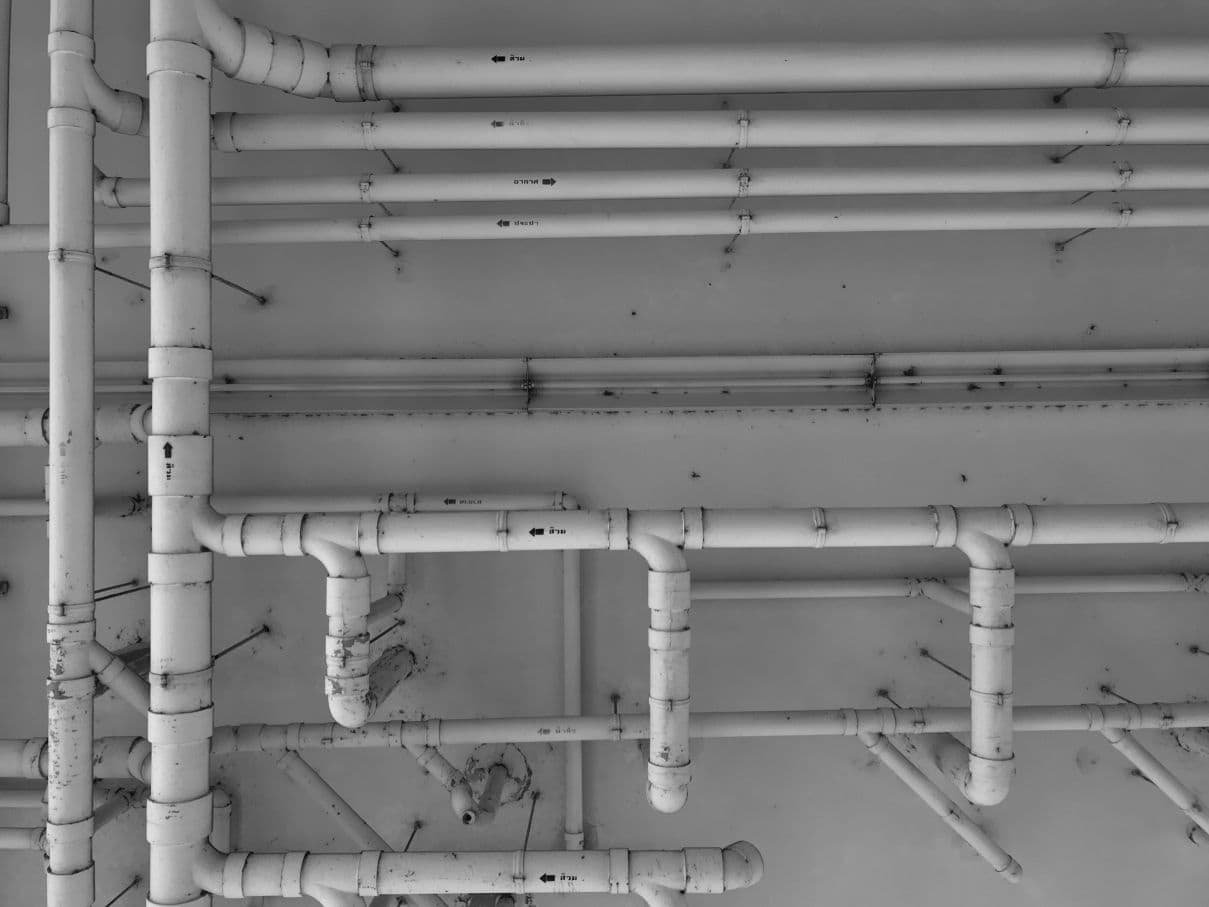
Thirty or more years ago, household plumbing systems used metal piping, but in modern buildings, we use cross-linked polyethylene (PEX), polybutylene (PB) or plastic piping for supply lines. Black ABS plastic or white PVC is mostly used for drain lines.
How to Design Your Plumbing System
This is the system professional plumbing designers use when installing plumbing in a new building.
Step 1. Find the best place to install the main stack. A main stack is a 3-4 inch diameter pipe which passes through the house, running from the basement up the roof. Each of the parts has an important function:
- The top section is for venting.
- The middle part is used to collect waste from the fixtures.
- The lower part is used to collect waste from the toilets.
Venting helps to equalize the system’s pressure.
The size of the drain pipe will depend on the distance of the fixture to the main stack. If a fixture is located a significant distance from the main stack, it will have a separate stack that rises to the top, and it will join the lower part of the main stack below.
Step 2. Install the vents and drains. Approximately one-and-a-half or two inches in diameter, drain pipes should slant a quarter of an inch per foot in order to drain well, and it must have smooth bends. Sharp angles will cause frequent clogs.
All fixtures, apart from toilets, must have traps. Toilets already have built in traps. A trap is the u-shaped pipe below fixtures, such as the basin. A small amount of water remains trapped in the bend, which keeps odors and gases from entering the home.
If a fixture is within less than five feet from the main stack and it is connected with a 2″ pipe or larger, it can be wet vented. This means that the pipe is big enough to allow both air and water to circulate simultaneously. If the bathroom is a greater distance from the pipe, an extra pipe must be added to the venting system and the venting section of the main stack.
Step 3. You will have to submit a rough in plumbing diagrams, which the building inspector will assess in terms of the building codes.
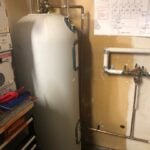
Once your drainage system is designed, it is time to design your plumbing system for fresh water supply. This starts with the placement of your hot water heater. Once you have determined the routes of each of the pipes, you will have to run your pipes to each grouping of fixtures.
Finally, you will install the final runs from the rough-in supply pipes to each individual fixture.
Naturally, it’s much more time consuming and complex than what this guide tells you. That’s why it is important to hire a professional plumbing services to install your plumbing system.